How to Choose the Best Tile Bond Adhesive in 2026?
Choosing the best Tile Bond Adhesive in 2026 requires more than comparing prices or package sizes. The correct product must match the tile, substrate, room conditions, and installation method. A heavy porcelain slab needs different support from a small ceramic wall tile. A damp shower also demands more careful selection than a dry bedroom floor.
Market evidence shows why this decision matters. Grand View Research estimates that the global tile adhesives market reached approximately USD 3.67 billion in 2023 and may expand at about 6.3% annually through 2030. Its analysis links growth to renovation, urban construction, and demand for more efficient installation systems. Meanwhile, ISO 13007 classifies cementitious, dispersion, and reaction resin adhesives by performance. ANSI A118 standards provide further benchmarks for North American installations. These are useful references, not automatic guarantees. Site conditions still decide performance.
A reliable choice begins with technical verification. Check open time, slip resistance, water absorption, shear strength, and temperature tolerance. For porcelain tiles, confirm that the adhesive supports low-absorption surfaces. For large-format tiles, consider improved coverage and deformation requirements. The substrate should be clean, stable, and properly prepared. Small details matter. A dusty concrete floor can defeat an expensive adhesive.
Even experienced installers can misjudge drying time or underestimate movement joints. I have seen attractive installations fail because the adhesive was selected by habit, not by evidence. Therefore, this 2026 guide compares product classes, standards, project risks, and practical installation conditions. It also questions common assumptions, because the cheapest bag is rarely the lowest-cost decision.
What Is Tile Bond Adhesive and Why Does It Matter?
Tile bond adhesive is the engineered layer between a tile and its supporting surface. It creates mechanical grip, fills small surface irregularities, and helps distribute daily stress. That layer matters. Without suitable adhesion, tiles may sound hollow, crack, or detach when moisture and temperature change.
In site inspections, I look beyond the tile’s appearance. Porcelain, ceramic, stone, and large-format panels place different demands on the adhesive. A dense porcelain tile needs strong contact, while natural stone may require a compatible, low-staining formulation. The wall or floor also matters. Concrete, cement board, plaster, and existing tiles absorb moisture differently. A flexible adhesive can help where minor movement is expected, but flexibility cannot repair a weak or dirty substrate.
For a 2026 project, check the product’s technical data, open time, curing conditions, and tested application range. Use the correct trowel and press the tile firmly to achieve broad coverage. In wet areas, confirm suitability for continuous moisture exposure. I have sometimes seen installers blame adhesive failure when poor surface preparation caused the problem. Still, adhesive choice can be wrong too. Dust, excessive water, uneven mixing, or rushing the cure time can quietly reduce performance. A small test area is useful, especially with unfamiliar tile sizes or surfaces. Local installation requirements and qualified professional advice should guide the final decision.
Which Performance Factors Should You Compare Before Buying?
How to Choose the Best Tile Bond Adhesive in 2026?
Choosing a tile bond adhesive starts with the installation conditions, not the package promise. A bathroom wall needs strong moisture resistance and reliable slip control. A sunlit balcony also faces heat, movement, and repeated wetting. Check the adhesive’s technical data sheet for suitable tile sizes, surfaces, temperatures, and curing conditions. These details matter more than attractive claims.
Compare bond strength, flexibility, water resistance, and open time. A flexible formula can help absorb minor movement between tile and substrate. Open time shows how long the adhesive remains workable after spreading. In a warm room, short open time can create skinning before the tile is placed. That can weaken contact.
Also examine sag resistance on vertical surfaces and pot life for larger projects.
I once judged an adhesive mainly by its high bond rating. That was a mistake. The material performed well, but it hardened too quickly for careful alignment. Now, I check coverage after lifting a test tile from the bed. Full contact should be visible, especially beneath large-format tiles. Compare mixing ratios, dust levels, cleanup needs, and batch consistency. Ask a qualified installer to assess the substrate, because cracks, dust, or trapped moisture can defeat a strong adhesive. Independent test standards and clear manufacturer documentation add confidence, although paperwork cannot replace a small site trial.
How to Choose Adhesive for Indoor, Outdoor, Wet, and Heated Areas
Choosing tile bond adhesive starts with the area, not the tile color or price. Indoor dry rooms usually need a cement-based adhesive matched to tile size and substrate. Check whether the wall is plaster, concrete, or gypsum board. Each surface moves differently. For large porcelain tiles, choose a flexible formula with suitable open time. A small bathroom still needs careful planning. Warm air does not make a weak bond reliable. Keep the substrate clean, flat, dry, and primed where required. Follow the product data sheet, not habit.
Wet areas demand more than a waterproof label. Use an adhesive compatible with the waterproofing membrane, then seal movement joints and corners correctly. Showers need low-absorption tiles and continuous adhesive coverage. Press and lift a tile occasionally. The back should show strong contact, not scattered dots. Outdoor installations face rain, frost, sunlight, and temperature changes. Select a flexible adhesive rated for exterior use. Drainage matters too. Adhesive cannot correct standing water or unstable concrete.
Underfloor heating needs adhesive that tolerates repeated expansion and contraction. Flexible cementitious products are often suitable, but verify system instructions. Turn heating off before installation and restart it gradually after curing. Rushing this step causes avoidable cracks. One detail deserves reconsideration: more adhesive is not always safer. Excess thickness can trap moisture and extend curing. Even experienced installers can misjudge drying time. Use the recommended trowel, check coverage, and allow extra time in cool or humid conditions.
How to Apply, Test, and Maintain Tile Bond Adhesive Properly
Choosing the best tile bond adhesive in 2026 starts with the installation surface. Remove dust, grease, loose paint, and weak plaster. The surface should feel firm, dry, and slightly porous. Check the adhesive instructions for tile size, moisture exposure, and curing conditions. A bathroom wall needs different performance from a dry hallway floor. Do not add extra water to improve spreadability. That shortcut can weaken the final bond.
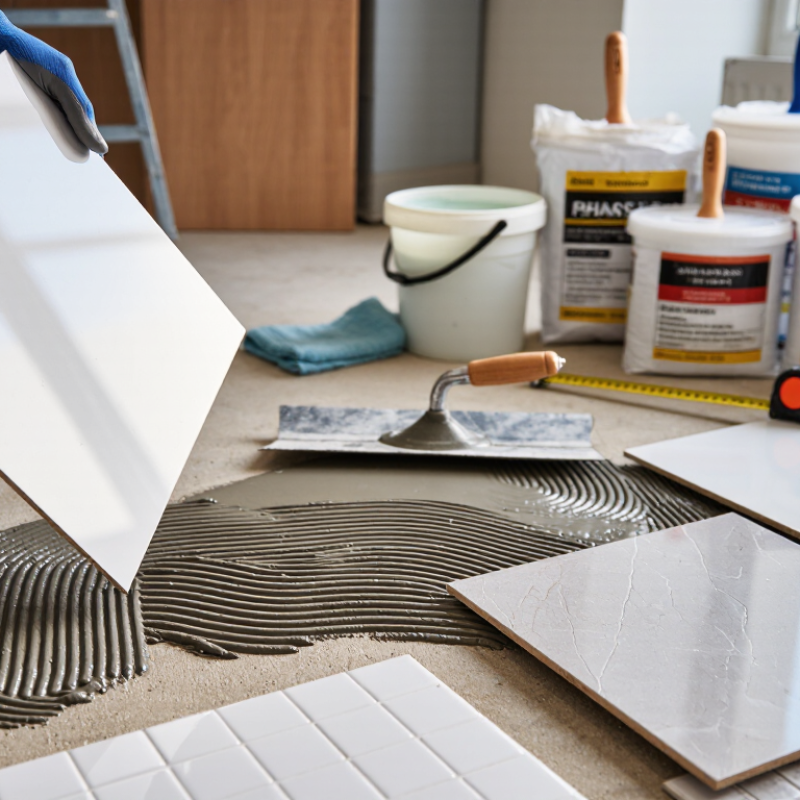
Mix only the amount you can use within its working time. Apply the adhesive with a notched trowel, keeping the ridges parallel and evenly shaped. Press each tile firmly, then move it slightly to collapse the ridges. Lift one tile occasionally. The adhesive should cover most of its back, especially near edges. A small test area is worthwhile. Wait for the stated curing period, then inspect a removed tile for gaps, powdery residue, or poor contact.
Maintenance begins before the joints become dirty. Wipe spills quickly, use a soft brush, and avoid harsh chemicals that may attack grout or nearby surfaces. Inspect loose corners, hollow sounds, and cracked joints every few months. Repair small failures early, after removing unstable material. My checklist is not flawless; rushed preparation has caused avoidable rework. Temperature, humidity, and tile weight can change results, so record these conditions during testing. When doubt remains, consult the adhesive’s technical data sheet or a qualified tile professional.