
How to Choose Cable Wire Connectors in 2026?
Choosing cable wire connectors in 2026 is less about picking the newest product and more about matching the connector to actual wiring conditions. A compact push-in terminal may suit a fixed lighting circuit, while a crimp lug can be better for a stranded conductor exposed to movement. Fit matters. Check conductor size, solid or stranded construction, metal type, current and voltage ratings, and the connector’s stated temperature range. A connector that fits physically can still be unsuitable electrically.
The installation environment changes the decision. In a dry control cabinet, space and easy inspection may guide the choice; outdoors or near machinery, moisture, vibration, and corrosion call for closer attention to product ratings and enclosure protection. Confirm the manufacturer’s instructions, approved wire range, strip length, tightening torque where relevant, and whether the connector is reusable. Then inspect the finished joint for exposed copper, loose strands, and strain on the cable. Small details count. Never assume a connector specified for copper accepts aluminum conductors; check its documentation and preparation requirements. Sealing tape alone does not make an indoor-rated connector suitable for outdoor use. This distinction is easy to miss, even during a careful review. Product documentation can also be hard to compare, so record the exact model and rating. This guide explains how to assess cable wire connectors by application, installation method, materials, and safety information. Requirements vary between systems. Verify applicable local standards, and consult a qualified professional when a circuit’s rating or purpose is uncertain. A checklist helps, but it cannot replace a sound installation.
Understanding Cable Wire Connectors and Their Main Types
How to Choose Cable Wire Connectors in 2026?
Understanding Cable Wire Connectors and Their Main Types
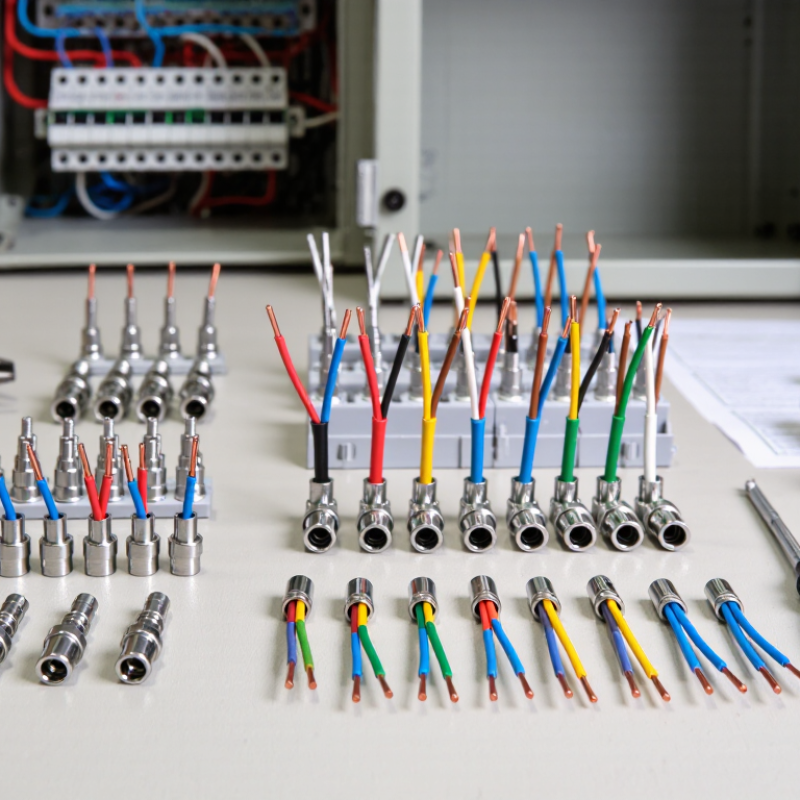
Cable wire connectors join conductors while maintaining electrical and mechanical contact. The correct type depends on wire size, conductor material, current, voltage, and installation conditions. Solid wires often suit push-in or screw terminals. Stranded wires may need crimp connectors or ferrules. Check the connector’s rated wire range. A tight fit matters more than appearance.
Twist-on connectors work well for simple indoor splices when wires are correctly stripped and twisted. Crimp connectors provide strong connections when matched with the proper crimping tool. Screw terminals allow easy inspection and replacement. Push-in connectors save time, but the wire must be fully inserted. For damp locations, use sealed heat-shrink connectors or approved waterproof enclosures.
Look closely.
In practical installations, many failures begin with damaged insulation, loose strands, or uneven stripping. Pull the finished connection gently. It should not move or expose copper. For vibration, choose a connector with reliable strain relief. For higher temperatures, check the insulation and connector temperature ratings. Do not mix copper and aluminum conductors unless the connector is specifically rated for both. I used to trust a firm-looking connection too quickly; visual checks alone can miss internal damage. A continuity test and careful inspection provide better evidence. Different connectors also require different tools, and using the wrong tool can weaken the joint.
How to Choose Cable Wire Connectors in 2026? – Understanding Cable Wire Connectors and Their Main Types
| Connector Type | How It Connects | Common Conductor Compatibility | Typical Applications | Key Selection Considerations |
|---|---|---|---|---|
| Screw Terminal Connector | A screw presses the conductor against a terminal plate or clamp. | Often available for solid and stranded copper conductors; compatibility depends on the terminal design. | Terminal blocks, control panels, electrical equipment, and some building-wiring devices. | Check the permitted wire size, conductor material, strip length, tightening torque, and whether ferrules are required or allowed. Retightening requirements depend on the product and installation instructions. |
| Spring-Clamp Connector | A spring mechanism holds the stripped conductor in place without a screw. | Commonly designed for specified solid or stranded conductors; some versions require ferrules for fine-stranded wire. | Control cabinets, lighting equipment, terminal blocks, and vibration-prone installations when the connector is rated for them. | Verify the conductor range, compatible wire classes, insertion method, release method, and ratings for the intended environment. |
| Push-In Connector | A stripped conductor is inserted into a spring-loaded port. | Many designs accept solid wire; stranded-wire compatibility varies by model. | Lighting fixtures, junction boxes, and compact wiring assemblies where the connector is listed for the use. | Confirm whether the connector accepts solid, stranded, or both; check wire size, strip length, number of ports, and enclosure requirements. |
| Lever-Operated Connector | A lever opens a clamp; closing it secures the stripped conductor. | Some designs support solid and stranded conductors, but permitted conductor types and sizes are product-specific. | Junction boxes, lighting connections, and serviceable wiring where conductors may need to be disconnected later. | Check conductor compatibility, port count, voltage and current ratings, environmental limits, and whether the connector is approved for the installation location. |
| Crimp Connector | A crimping tool permanently deforms a metal barrel around the conductor. | Available for specified wire sizes and conductor types; terminals may be designed for copper or aluminum conductors. | Automotive wiring, equipment harnesses, power connections, and other applications that require a mechanically secured termination. | Match the terminal to the conductor material, size, insulation, and application. Use the specified crimp tool and die; an incorrect crimp can create a poor connection. |
| Twist-On Wire Connector | Conductors are twisted together as the connector is turned onto the joint. | Typically used with compatible copper conductors; approved wire combinations and sizes vary by connector. | Splices in electrical enclosures where local rules and the connector listing permit this method. | Follow the permitted conductor combination, preparation, and installation instructions. Do not use outside the connector’s listed range or in unsuitable wet or exposed locations. |
| Insulation-Displacement Connector (IDC) | A contact cuts through or displaces insulation to make contact with the conductor. | Designed for specified conductor sizes and insulation types, commonly in signal or communication wiring. | Telecommunications, data, and low-voltage control wiring, depending on the connector’s rating. | Check conductor gauge, solid or stranded compatibility, insulation material, signal requirements, and whether a dedicated insertion tool is needed. |
| Butt-Splice Connector | Two conductors enter opposite ends of a tubular barrel and are crimped or otherwise secured. | Available for specified wire sizes and conductor materials; insulated and uninsulated versions are common. | In-line wire repairs and harness assembly where a splice is permitted and properly protected. | Match the splice to both conductors and the required crimp method. Consider insulation, strain relief, moisture exposure, and the applicable installation requirements. |
Selection note: Connector ratings are not universal. Before installation, verify the product’s marked voltage and current ratings, conductor material and size, temperature limits, environmental suitability, applicable electrical code, and manufacturer instructions.
Related Posts
-
What Are the Top Electrical Cable Connectors?
-
2026 Top Electrical Cable Connectors Buyers Guide?
-
How to Choose Electrical Cable Connector Types in 2026?
-
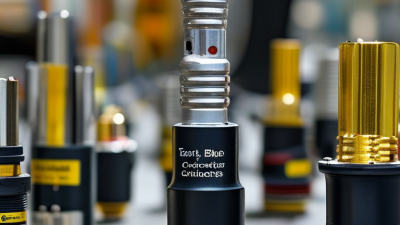
2026 Best Electrical Cable Connectors for Global Buyers?
-
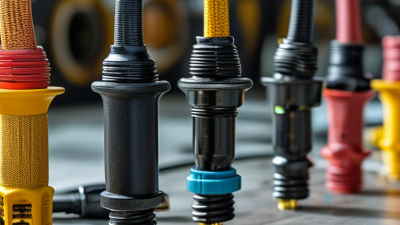
How to Choose the Right Electrical Cable Connectors?
-
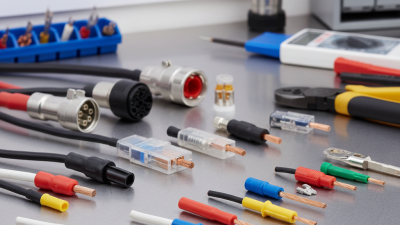
10 Best Electrical Cable Connectors for Optimal Performance?

Our quality management system is registered to ISO 9001: 2015. Our team is dedicated to consistently providing quality service and products to our customers.